

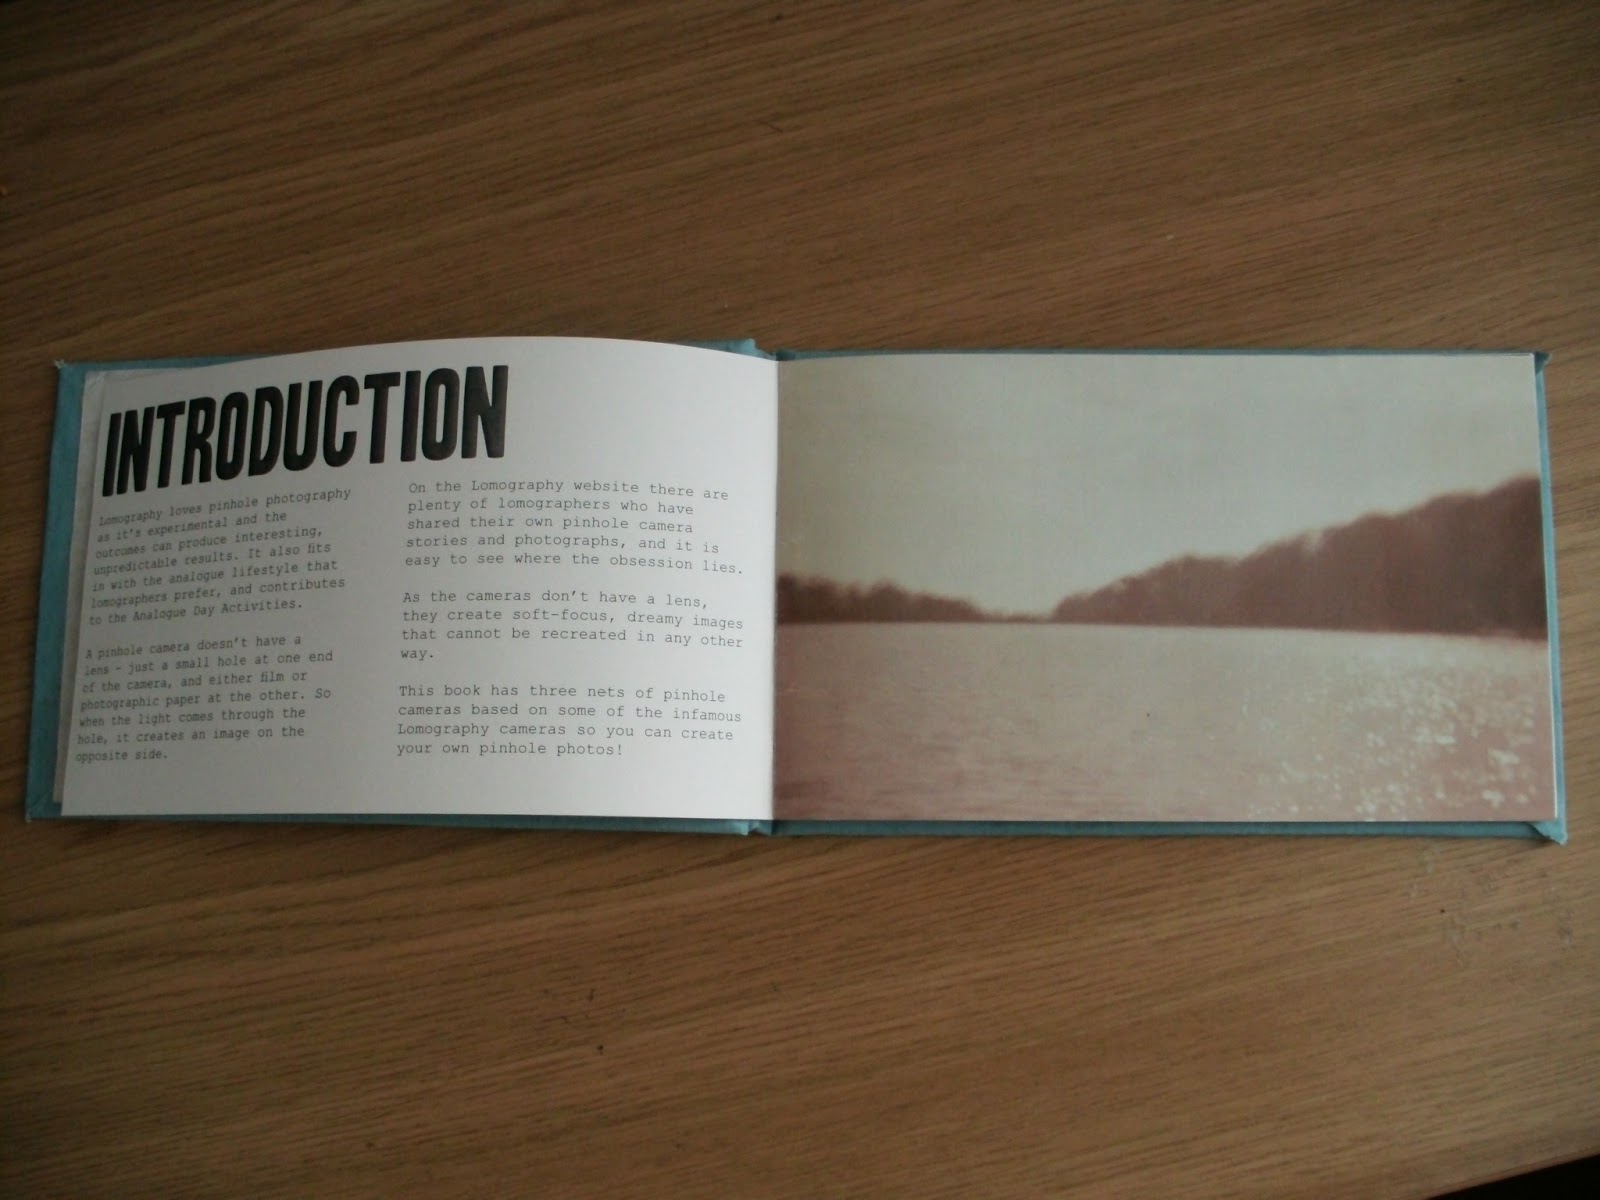
The first book is going to be about the different cameras and films that are available, with examples of photography throughout which can be achieved with these. It will also tell people how to achieve the shots. The book will be aimed at lomographers (a 500,000 strong community) as well as people who are interested in photography and wanting to start lomography.
Here is the page layout for the first book.
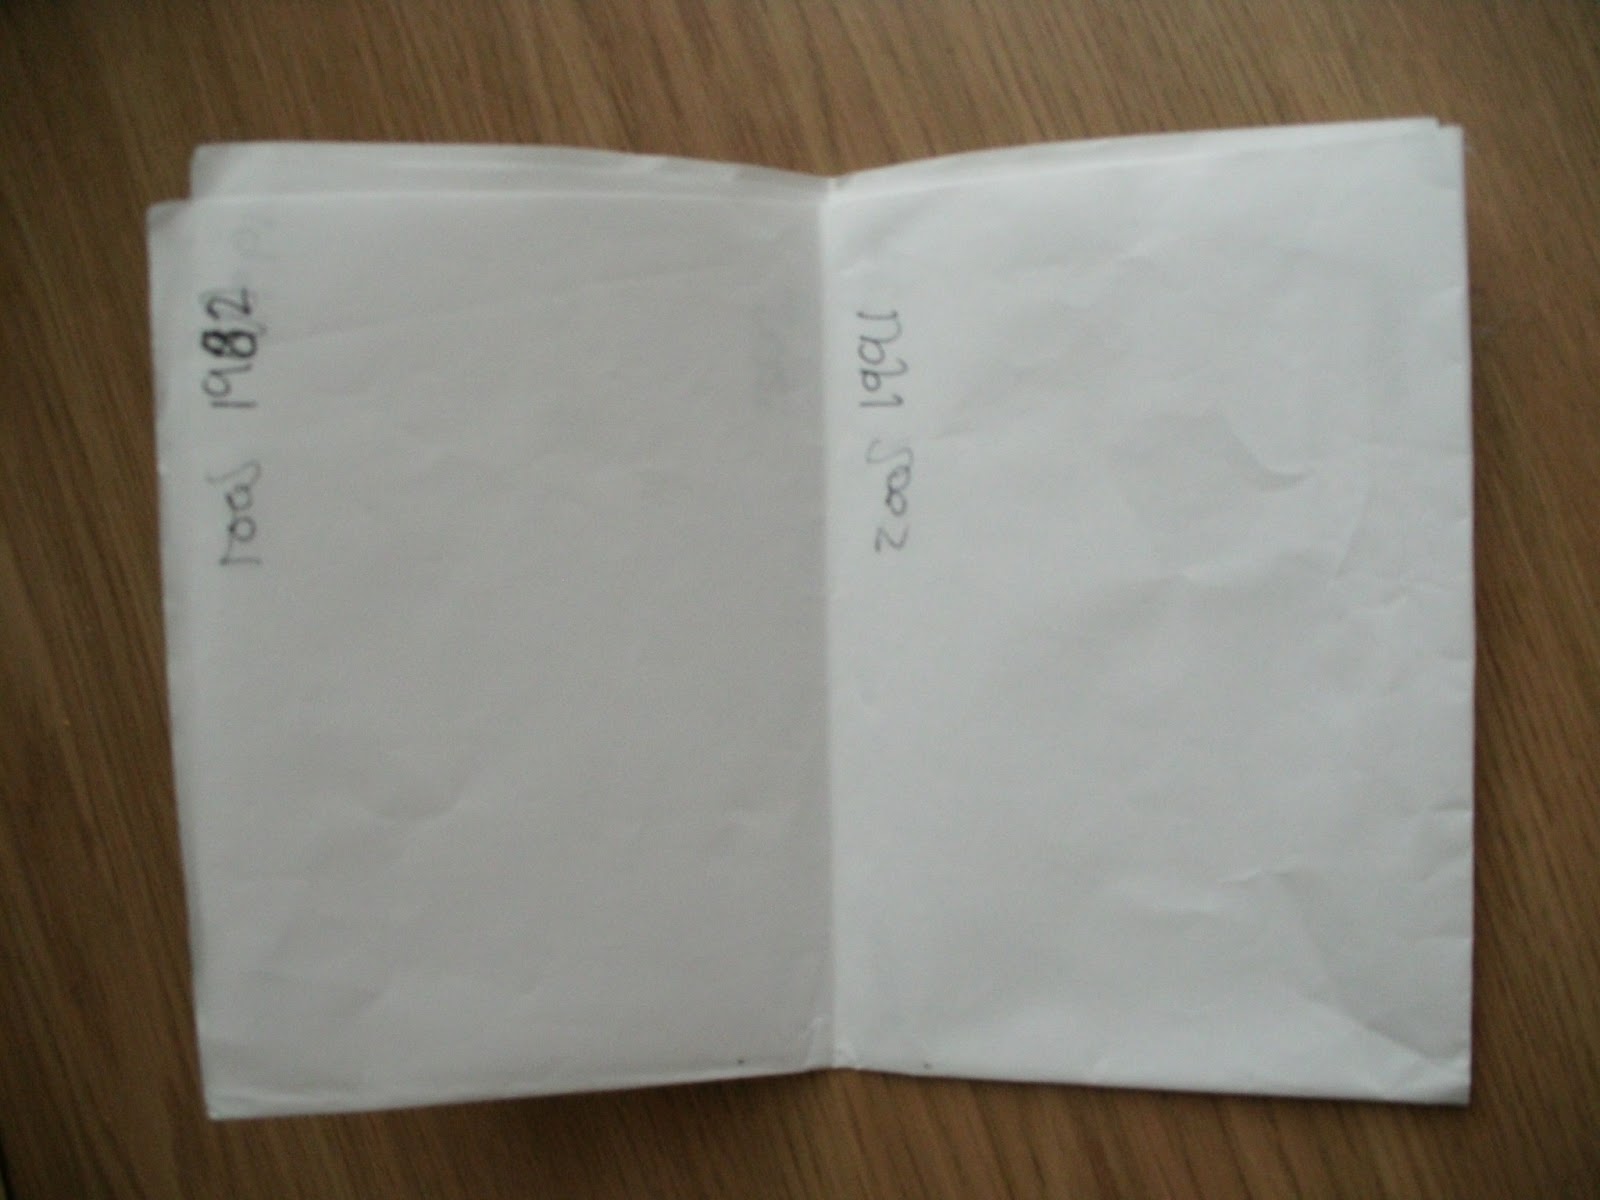
Here is the layout for the second book:
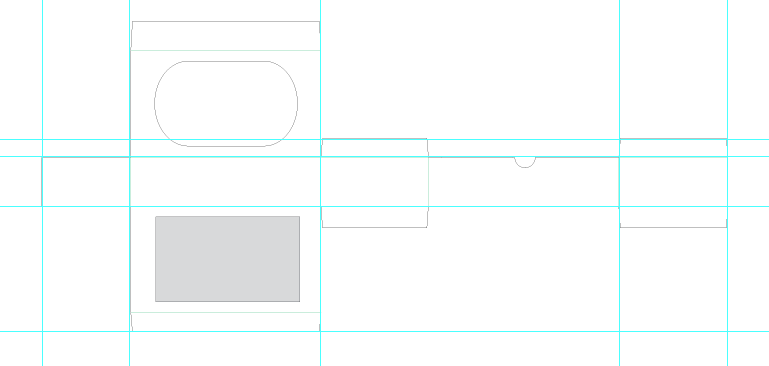
Here are the new nets for the pinhole camera:


I decided to do three so there was a variation, and based them on existing lomography cameras that are featured in the first book following feedback I received from the critique. They are in the same colours that they are in the first book. I decided on these particular cameras because the Diana Baby 100 is a different film format to the others, and Diana is arguably the most well known lomo camera. The Lomo LC-A is the original camera so it seemed right to include that, and the La Sardina already comes in lots of different patterns and variations, so this would just be another one to that collection.
I put the endpages on both of the books as the pattern I originally wanted to use on the pinhole camera net, and this is also what I want to use on the bellyband. I did this so that the inside and the outside will match. I decided it should be grey because these are two of the colours that are used on the website, and the least bold ones so that it won't distract from the content on the book.
I then went to print it, and as I have decided to do hardcover binding, I need to print it into sections. So I made postscript files for each sections in InDesign into Adobe Acrobat, and this is what I printed double sided.
Originally I started to print in the Digital Dungeon on A2, but they only printed four pieces of paper in an hour, and I had 26 to print so I wouldn't have had time. So I altered the paper size slightly, so that it would fit onto A3.
I also realised that cartridge paper didn't work that well with what I was doing, as there was a lot of photography and it dulled it down.
So I then printed on bulky newsprint in the studio. Some of the pages aren't in line with the other side, but nothing too major.
(cartridge)
As they are all printed now, I went to use the laser cutter to perforate the edges of the pinhole camera nets. I did try and scale them as much as I could on Illustrator, but they were still out of line. I'm not too bothered though as I got to try a new technique and on the test piece I did, it popped out really easily.


Here is the piece that I popped out of the page:

I organised the pages into sections, and creased them with a bone folder so that they were ready for when I went to bind at Vernon Street.
When I went there, I pierced four holes in the spine of the sections, and started sewing them together. Then I put PVA glue on the spine of them to secure it, and waited for it to dry.
Then I measured out the mountboard and the buckham material for the hardcover. I had to trim the buckham so that it would fold round the mountboard well, and then I went to stick the endpages on the cover. For the buckham, I decided to use a light blue, as I think that this will stand out well against the cardboard box, and work well with the grey pattern.


A couple of the pages were cut off on the left, and where it hasn't printed aligned, some pages at the centre overlap from over pages.


However, when I went to stick the end pages onto the cover, it didn't quite go to plan. I was doing it on my own, and as I haven't done it before I didn't really know what I was doing, and the PVA was drying really fast so I didn't have a lot of time to put it on properly. It ended up not being aligned properly so I had to rip the pages out, which cause a bit of a mess.
I then decided to use double sided tape instead as I could peel it back up if I wanted to, and pay a bit more time making sure it was on properly. It worked a lot better, but it still isn't perfect.

I found a net I liked in the Structural Packaging book, and then using Illustrator and mock-ups I adapted it so that it would be the right proportions for my books.


I now started to work on the box. As I have done the net, I wanted to cut it using the lasercutter. However, as the scale is A0, it wouldn't fit on the lasercutter, as it only cuts up to A1. So I got a copied out the measurements from the Illustrator file onto the cardboard and cut it using a scalpel, and scored it using the back of the scalpel.


I put a page from the book within the box so I could make sure it was the right size.

I got some acetate to cover where the window is, so that you can't just grab the books out of the top.

I decided to stick the tabs together with double sided tape as it seemed to work better with the book when I used that.
I then needed to make the insert, and I wanted it to be a little lower than the height of the two books together, so you can easily pick up the top book. I also wanted to cut out a little tab so you can get your fingers in it and pick out the bottom book. The corners also need to be cut at an angle so that it fits in.
(pic.drawing)
Here is the final box with the insert in it:


I also wanted to do a fold out poster with A Brief History of Lomography inside of it. I already had the bodycopy for it as I included it in the original book. I wanted it to fold out into A3 so that it would be big enough for someone to have on their wall as a poster. As I wanted it to be fold out, I wanted the order of the dates to be in the order that you would fold out the poster, so I made a mock up.


I went onto InDesign, and started seeing how the text would fit within the space that was available, and it was a really simple and quick thing to do but I think that it works. I used the same margins and font size that I did on the books to keep it consistent.


I then had some trouble when printing, as one side was printing landscape, rather than portrait. However, I soon fixed this by altering the document and print settings.

Here is the final poster:


Leave your comment